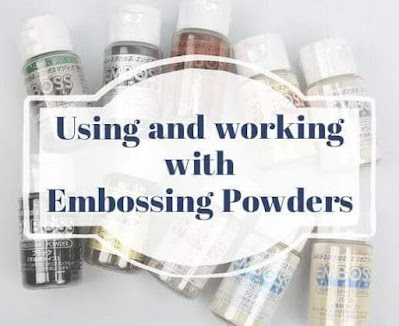
Embossing Powder Basics
Tutorial: Using and Working with Embossing Powder.
When using embossing powder, it's perhaps best to first think that you are melting plastic onto your card.
Start by using an antistatic powder on your surface. If you don't have a powder tool or bag, you can read how to make one here or you can just dip a dry paint brush into cornflour/cornstarch and dust it generously across the area you're working on before you start.
Once you've stamped your image, sprinkled the powder over and removed any excess, including any stray grains with a fine tipped paint brush. You can then heat from EITHER SIDE of the card to melt the powder. Heating from beneath first before switching to the top can also help keep the grains in place better and help dry the ink out a little more.
You MUST keep watching the powder while it melts and as soon as one section melts you must move onto another section. Don't wave your heat tool around like a hair dryer because the heat won't be stable and the powder won't melt. You may just blow the powder all over your work. Slow and steady movements are much better.
Waiting too long to move your heat gun to the next area will also cause you problems. Overheating the powder causes it to bleed into the cardstock and it will give off a terrible burnt smell. Moving your heat as soon as the powder melts is critical for a smooth, even result. You may also scorch your cardstock, permanently discoloring it if you leavethe heat gun in the same place too long.
The type of embossing powder you're using will also have an affect on the heating time required to melt the power and the smoothness of your final results. The coarser the power, the longer the melting time will be. Super fine powders will melt and overheat much more quickly than the more coarse powders, but these fine powders will give a better result when embossing stamped lettering, ie. a sentiment.
The smoothness of the final result can also depend on what you've used to stamp or draw with. For example, your finished results will look much more even and smooth if you've used Versamark ink rather than a Quickie glue pen or double sided tape.
Finally, if you're embossing larger areas, a second coat of ink and power will give a much smoother result than just a single coat. Simply restamp, resprinkle the powder and melt as you did the first time, again, paying particular attention to move the heat AS SOON as the powder melts.
If you have never used embossing powders and would like step by step, basic instructions on the technique, these tutorials should help you get started:
A written tutorial can be found here.
A video tutorial can be found here.
Don't forget, if you have any questions or problems, please reach out and leave a comment below. We will will reply as soon as we can. Or, if you're a little shy, you're welcome to contact us using the contact form for a more private chat via email.


Comments
Post a Comment